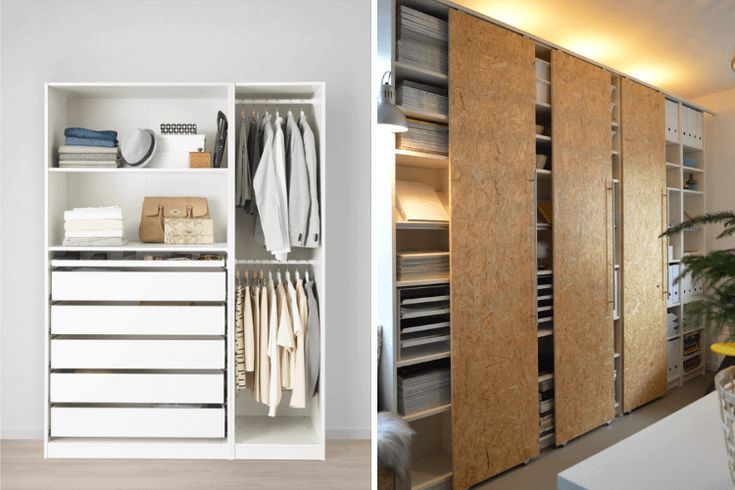
Assembling an IKEA PAX wardrobe feels a bit of a difficult task. With its modular design, multiple frame sizes, doors, interiors, and accessories, the PAX system offers endless customization, but that flexibility also means more parts, more steps, and more room for error. Whether you’re setting up a sleek walk-in closet or maximizing storage in a compact apartment, proper assembly is essential for durability, safety, and visual appeal.
Many homeowners and renters in urban spaces, especially those familiar with furniture assembly in NYC, know that careful planning and precise execution make all the difference. Let’s have a look at the entire IKEA PAX wardrobe assembly process, from preparation to final adjustments, so you can complete the project with confidence.
Prepare the Space for Assembly
Preparation is often underestimated, but it’s one of the most important steps.
Measure Your Room Carefully
PAX frames come in different heights and depths. IKEA recommends at least 2 inches of ceiling clearance if you plan to assemble the wardrobe upright. In rooms with lower ceilings, the frame must be assembled flat and then tilted into position, a process that requires extra care, just like IKEA kitchen and IKEA bathroom installation, where precise measurements and proper assembly are essential for a perfect fit.
Clear the Floor Area
Lay out a clean, flat workspace large enough to fit the frame panels. Protect hardwood or tile floors using cardboard or a blanket to avoid scratches.
Locate Wall Studs
Since PAX wardrobes must be anchored to the wall for safety, use a stud finder before assembly. Mark stud locations clearly.
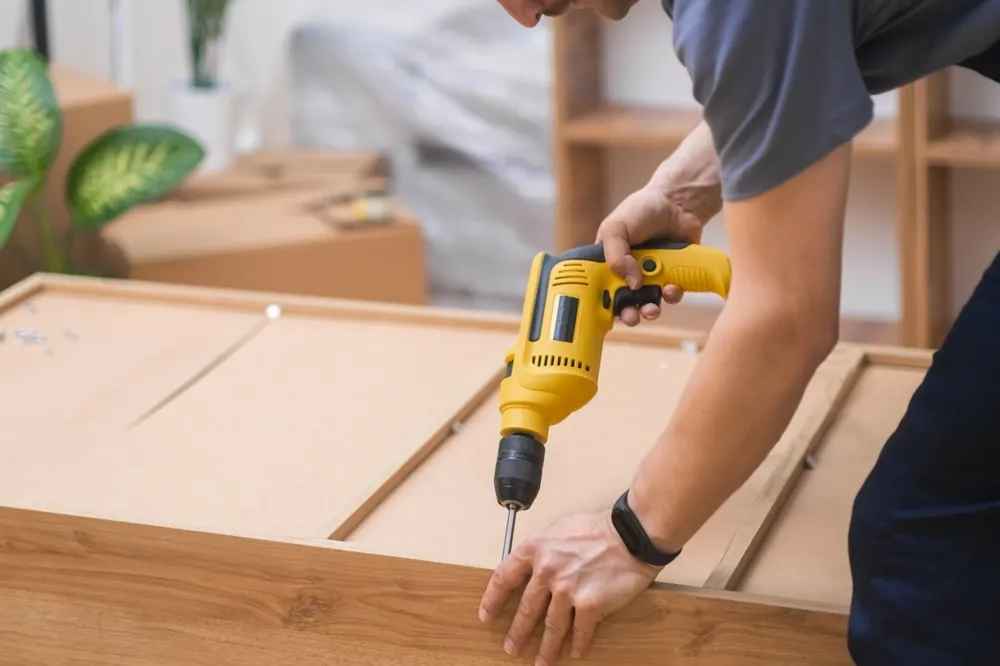
Tools You’ll Need for IKEA PAX Assembly
While IKEA provides basic tools, having the right equipment makes the job smoother and faster.
Essential tools include:
- Phillips-head screwdriver or electric drill
- Rubber mallet
- Tape measure
- Level
- Stud finder
- Pencil
- Allen key
An electric screwdriver can save significant time, especially if you’re assembling multiple frames.
Also read: 5 Reasons to Hire Professional Furniture Assembly in NYC
Unboxing and Organizing the Components
Open all boxes and sort components by type. Keep screws, dowels, and fittings in separate containers. IKEA parts may look similar but serve different purposes, so organization prevents mistakes later.
Before starting:
- Check all parts against the IKEA instruction manual
- Inspect panels for damage
- Keep doors and glass components safely aside until needed
Skipping this step often leads to frustration halfway through the build.
Assembling the PAX Frame Step by Step
Step 1: Build the Frame Base
Lay the side panels flat on the floor. Attach the bottom panel using the included dowels and cam locks. Ensure all cam locks are turned fully to secure the structure.
Step 2: Attach the Back Panel
Slide the thin back panel into the grooves along the frame edges. This panel adds structural stability, so ensure it fits snugly and evenly.
Step 3: Secure the Top Panel
Once the back panel is in place, attach the top panel using the same cam lock system. Double-check alignment before tightening everything.
Step 4: Stand the Frame Upright
With help, carefully lift the frame upright. This step is easier with two people, especially for taller frames.
Anchoring the Wardrobe to the Wall
Anchoring is not optional. IKEA PAX wardrobes are tall and heavy, and the wall attachment prevents tipping.
- Use the provided safety brackets
- Secure brackets directly into wall studs
- Use appropriate anchors if studs are unavailable
A level should be used here to ensure the frame stands perfectly straight before tightening all fasteners.
Installing Interior Components
Once the frame is secured, it’s time to customize the inside.
Shelves and Rails
Install shelf pins and clothing rails according to your layout plan. IKEA allows adjustable heights, so take advantage of this flexibility.
Drawers and Pull-Out Trays
Drawer rails must be installed evenly on both sides. Measure carefully, as misaligned rails will cause drawers to stick or tilt.
Soft-Close Features
Many KOMPLEMENT drawers and hinges include soft-close mechanisms. Ensure these are installed correctly to avoid slamming or resistance.
Assembling and Mounting Doors
Doors are often the most time-consuming part of the process.
Hinged Doors
Attach hinges to the door panels first, then mount them onto the frame. IKEA hinges allow three-way adjustment, height, depth, and side-to-side—making it easier to achieve perfect alignment.
Sliding Doors
Sliding doors require careful rail installation. The top and bottom tracks must be perfectly level for smooth operation. Glass panels should be handled with care and installed last.
Adjustments and Final Alignment
Once everything is assembled, take time to fine-tune.
- Adjust hinges so doors open and close evenly
- Ensure drawers slide smoothly
- Re-check that the wardrobe is level
- Tighten all screws after 24 hours
This final step separates a professional-looking wardrobe from an average one.
Common Mistakes to Avoid During IKEA PAX Assembly
Even experienced DIYers make mistakes. Avoid these common issues:
- Skipping wall anchoring
- Installing the back panel incorrectly
- Overtightening cam locks
- Mounting doors before securing the frame
- Ignoring ceiling height limitations
Being patient and following the manual step by step prevents most problems.
When to Take Professional Assembly Help?
While many people enjoy DIY projects, assembling a PAX wardrobe can take 4-8 hours or more, depending on size and complexity. In tight apartments, limited time, or multi-unit installations, professional help can be a smart choice.
Do you need help withwith your IKEA wardrobe assembly? Contact Furniture Assembly NYC. our experienced professionals will assemble the IKEA furniture in no time. Feel free to call us and book an appointment.